
1) To configure a POP Email account, First click the “File” Tab.

2) Click The “Add Account” button.

3) Enter Your as you would like it to appear in your emails.

4) Then enter the email address you want to configure here.

5) Enter and confirm the email account’s password.

6) Click here to manually configure your mail server settings.

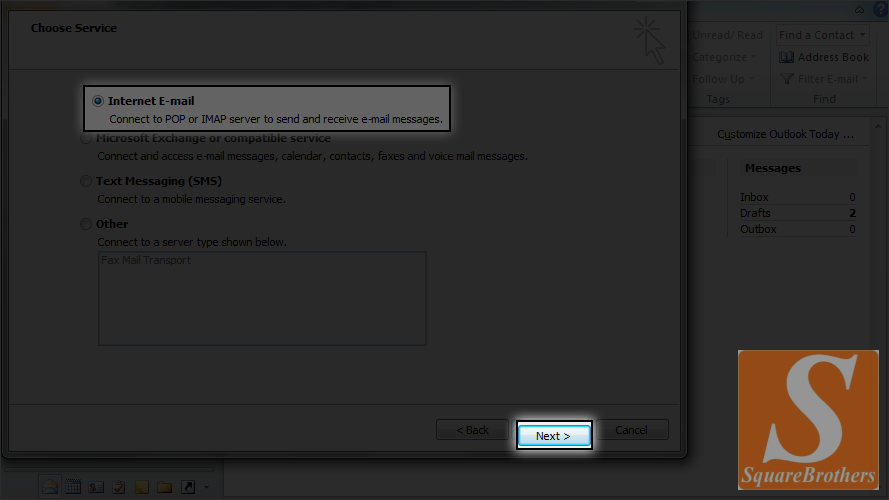
7) Click Next.

8) Ensure the “Internet E-mail” option is selected, then “Next” again.
9) Next Ensure “POP3” is selected as the account type.

10) Then enter the incoming and outgoing mail server addresses.

11) Enter your full email address as the user name and the password.

12) Click the “More Settings” button.

13) Click Outgoing Server tab.

14) Choose “My server requires Authentication”

15) Click “Advanced tab”

16 ) Choose the Incoming server port as 110 and Outgoing server port as 25 and click ok

17) Click Next

That’s it. Email id has been configured now.
